OK so we buy the kit from Lancair, and they have the parts delivered to Composite Assist, a few blocks away on the same airport. The staff at Composite Assist then helps you start building the airplane! It is more fun than you can imagine, helped in no small part by the fun of construction, how cool the guys at Composite Assist are, and the fact that you are building YOUR airplane!
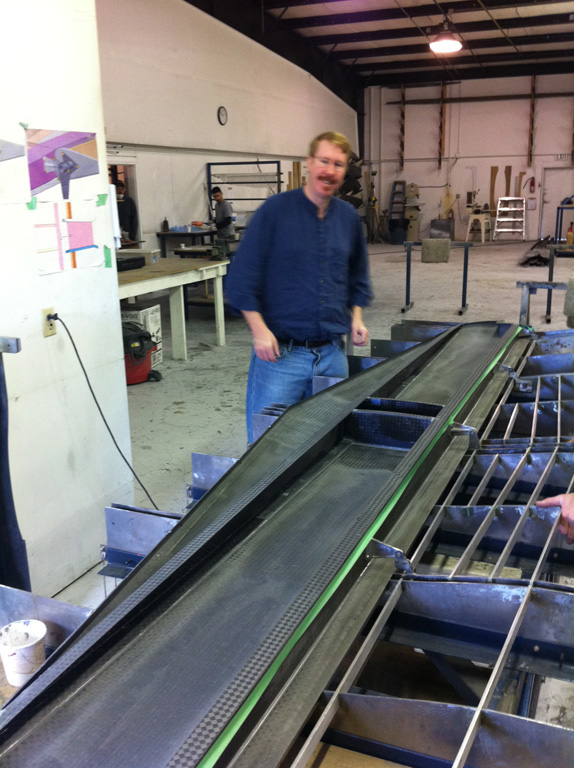
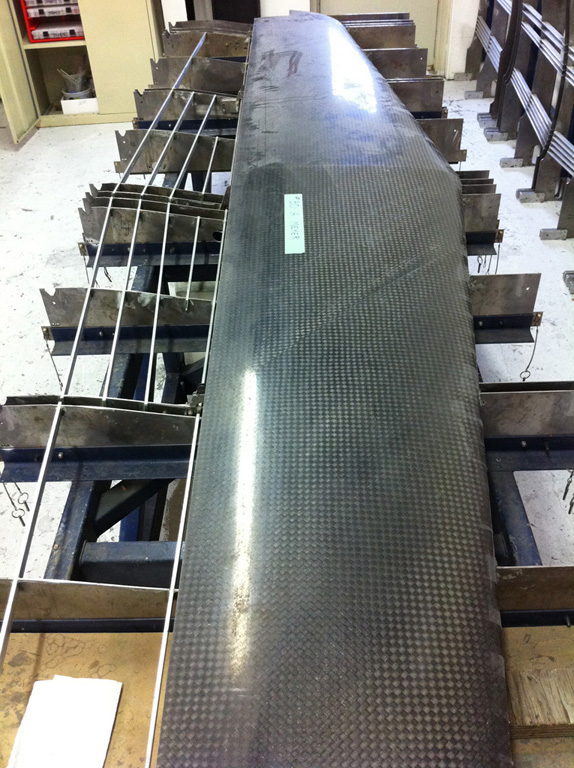
Below, at the C.A. facility, we see the lower part of the stabilizer is sitting on a jig. This is the lower skin of the stabilizer, with the fore and aft spars clearly visible. As you can see, you are simply looking at 5 pieces of carbon fiber (lower skin, fore spare, aft spar, and 2 ribs) all bonded together. They are sitting in a metal jig to hold them in exactly the right shape.
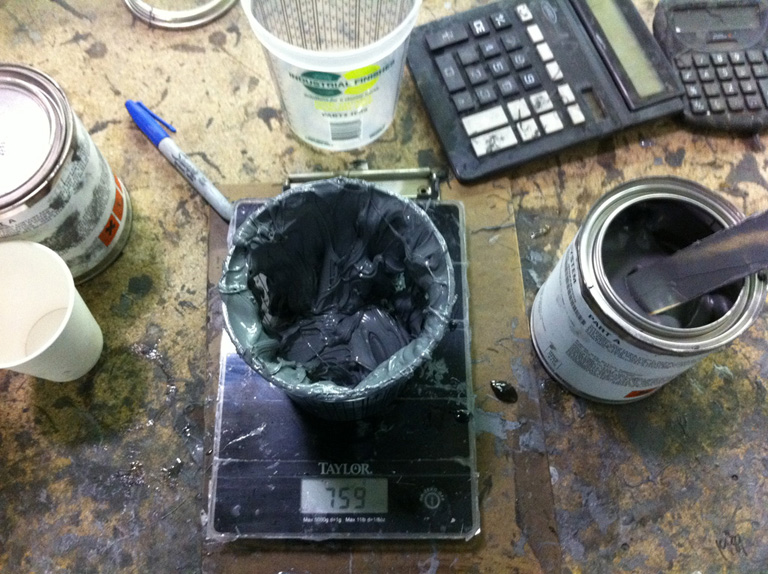
The first thing we do to finish this part is measure out 760 grams of hy-sol. Initially designed as a hi-strength replacement for concrete, hy-sol is so strong and easy to use that we use it to bind all the carbon-fiber parts in the airplane. Below, I measure out 760 grams of hy-sol for the stabilizer, and exactly 17% of that weight in catalyst. The plans for the airplane tell us exactly how much hy-sol to ration out for each part.
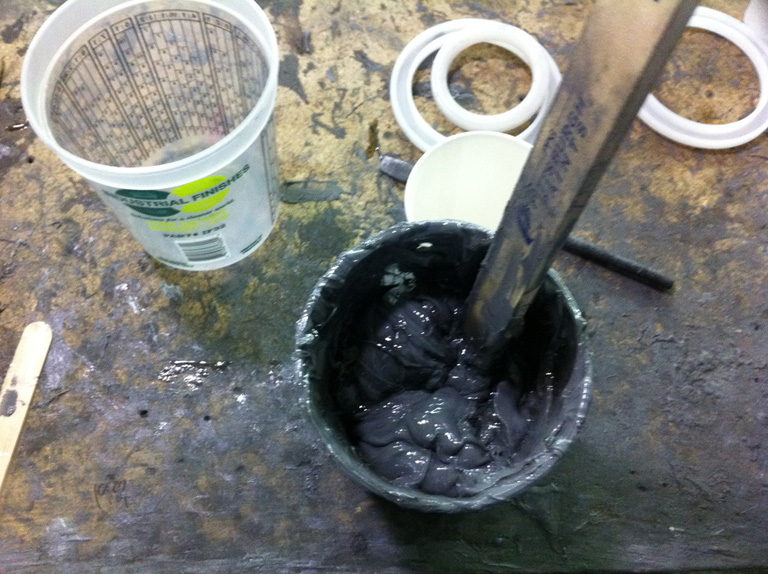
Once the catalyst is in place, I start mixing! The moment the catalyst touches the hy-sol, we have 90 minutes to complete our work before the hy-sol sets rock-hard and the bonds are finalized!
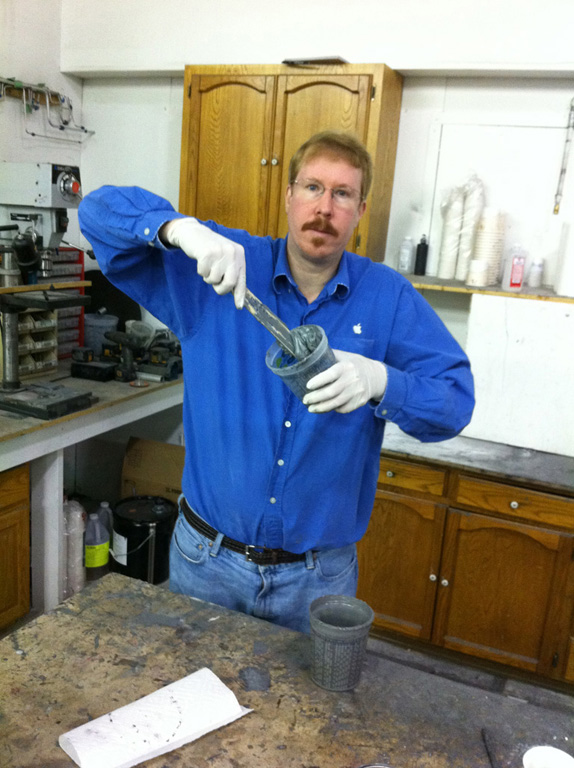
Mixy-Mixy! We wear gloves here. The hy-sol will NOT come off of you too easy.
Then, once the hy-sol is all measured-out and mixed up, with 90 minutes left on the clock, we pile it all up onto every bit of the lower stabilizer assembly that will touch the upper wing skin! We pile it into a little ridge on the leading edge, fore spar, aft spar, and ribs! All of these parts will be mooshing into the upper stabilizer skin soon!
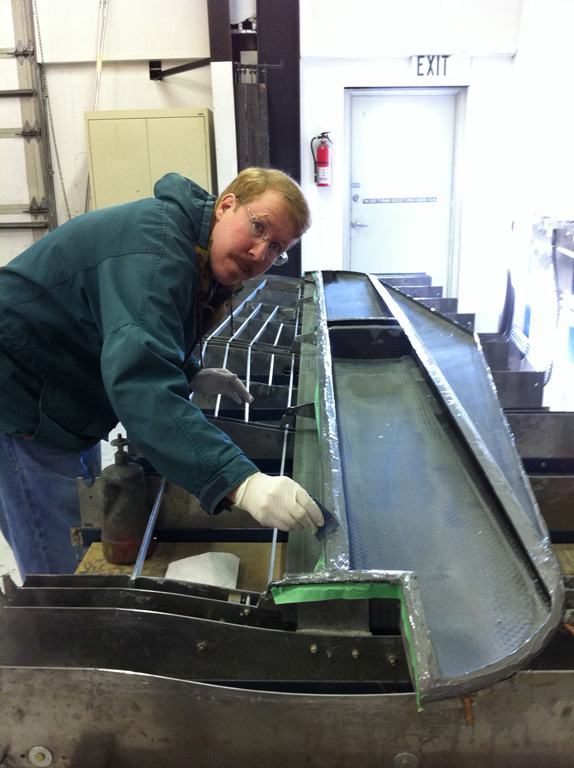
BUT, first, we smoosh some hy-sol onto the upper stabilizer skin as well. The hy-sol on the upper wing skin, when nice and wetted and worked all into the little crevices and crannies of the carbon-fiber skin at the atomic level will seek the hy-sol piled onto the lower stabilizer assembly, and the two will bind into a single peice that can never be split again, ever.
Now put the upper skin onto the lower assembly! The hy-sol is smooshed in between, forming a perfect bond between the lower skin and upper, spars and skins, riubs and skins. Once the upper skin is in place, we put a SECOND set of jigs on TOP OF the lower jigs to FORCE the upper wing skin down EXACTLY into position. This upper jig is shaped to perfectly match what the upper surface of the stabilizer will look like, so when it is forced down into position, the stabilizer, in the center, has NO room to move, and is held EXACTLY at the design shape while the hy-sol hardens.
You may notice the little pins on cables going thru little holes on the lighter bits of metal on the left side of the jig.
Here is what is going on with that: There are holes on the LOWER half of the jig right under the lighter silver plates in the image below.
There are holes in the solver plates as well, which are attached to the UPPER jig.
When you put the upper jig in place on top of the stab, the holes from the upper jig line up with the holes in the lower jig.
When the holes line up, you can run the little pins through them, locking the upper jig in place.
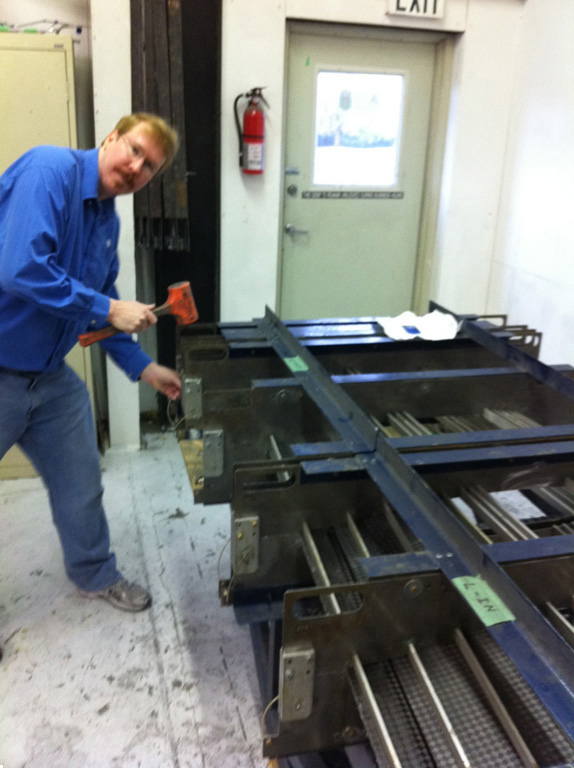
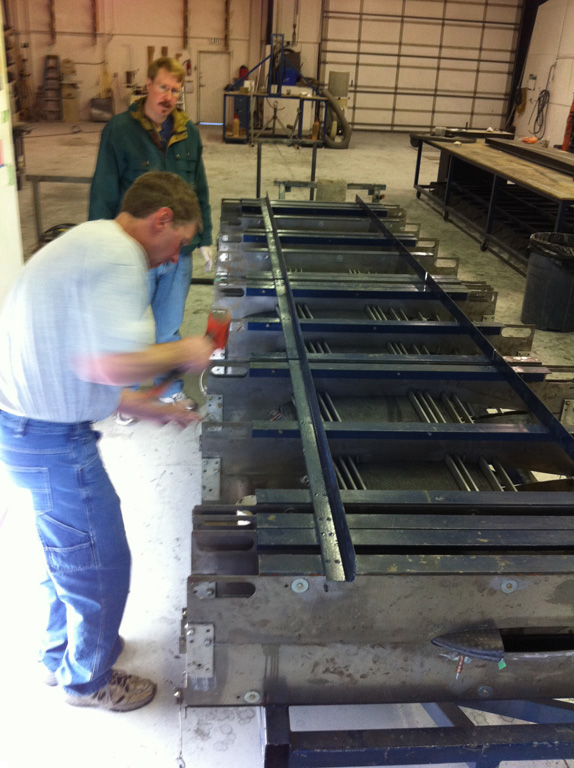
But here is where it gets really interesting: The pins fit in the holes so tightly that they can barely even WIGGLE! The tolerance between the pins and holes is maybe a hundredth of an inch. You can barely GET the pin IN the hole, it is so tight! As a result, if the upper jig is not totally settled down, and is instead out of place... BY EVEN A FEW HUNDREDTHS OF AN INCH (!!!!), then the holes are not perfeclty aligned and you cannot force the pin home though them. At that point, you take a rubber mallet and start tapping on the upper jig to compress it down that last few hundredths of an inch until the pin runs home, proving that the upper jig is now perfectly in place. Below, you see that I am tapping with one hand, while trying to run the pin home with the other. With each tap of the rubber mallet, you can feel the pin getting a little bit closer to fitting in place.
What is so interesting about this is that since the jigs are designed to perfectly describe the shape of the airplane, and the stabilizer is stuck between the upper and lower jigs with only a few hundredths of an inch of leeway as it's internal hy-sol sets, you know that the finished part, even if it is 30 feet long, as accurate to within a few hundredths of an inch. As well, since the upper skin is squeezed down exactly the right amount, the gap between the spars and the upper skin is exactly the thickness of the desired hysol bond, and exactly the right amount of hy-sol is squeezed out to be chipped and sanded off later.
The bottom line is that the part has the right amount of hysol to within a few grams, the right shape to within a few hundredths of an inch, and weight so absurd that you can carry the wing to a 4300-lb gross airplane with 2 people, no problem at all.
Here you see the upper and lower jigs clearly clamping the stabilizer into the perfect shape. The tip of the stab sticks out of the jig just a bit in the foreground.
And, perhaps the next day, we take off the upper jig! There is a stabilizer!
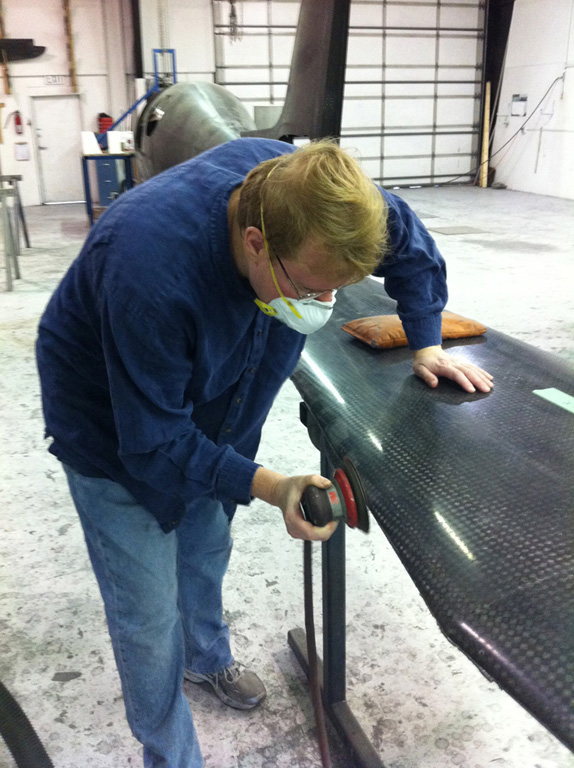
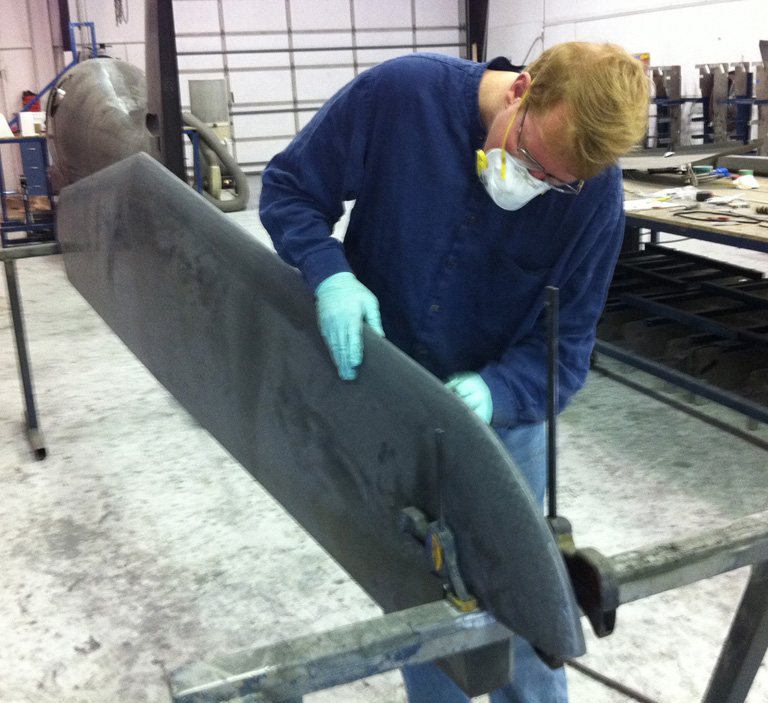
Now, remember how I said that some of the hy-sol squeezes out when the upper jig is put down? Look at the gray goo coming out of the leading edge of the stabilizer, just about 3 feet towards the foreground from my sander. That is the excess hy-sol! So, I take a lnuematic sander, throw on a mask for the dust, and have at it! I am sanding off the extra hy-sol here.
Ooops! I found a teeny gap where we did not have quite enough hysol near the tip. No problem... I just squeeze in another ounce or two!
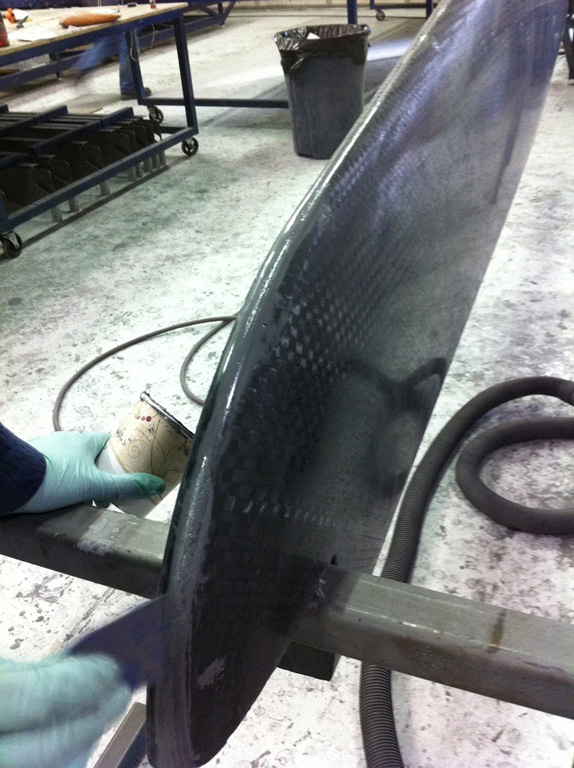
Then, when that is done and set, I sand the leading edge smooth.
Oh yah... sand it niiiiiiiiiiiiiiiice and smooth.
And clean it up.

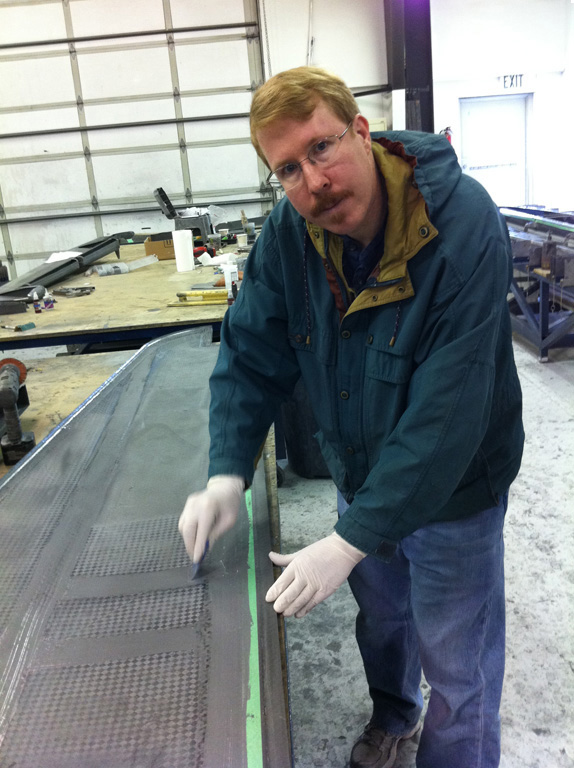
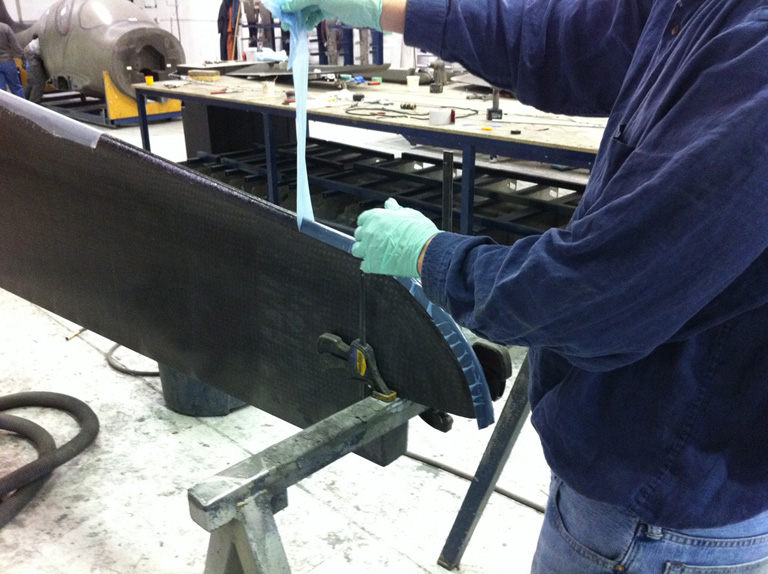
Now we COULD stop there, but we are going to go just a LITTLE bit farther to make it PERFECT. The NEXT step is to put a single layer of carbon fiber on the leading edge... a strip maybe 4 inches wide and as long as the entire stab. Unlike all the carbon fiber you have seen before, this stuff is still wet. This is nothing but carbon fiber cloth with resin in it... as wet as a sheet out of the washing machine after a spin-cycle, and sitting on a strip of slick, smooth, blue smooth plastic-wrap. All I do is put the plastic-wrap on the leading edge (carbon-fiber side down, plastic-wrap side up) and then gently peel away the blue plastic. Presto! That leaves the carbon fiber on the leading edge, a cloth that is sopping wet in resin and clinging to the stab like a wet sheet. In a few hours, of course, the resin will be set and the carbon-fiber a rock-hard bond on the leading edge, guaranteeing that the upper and lower skins never separate.
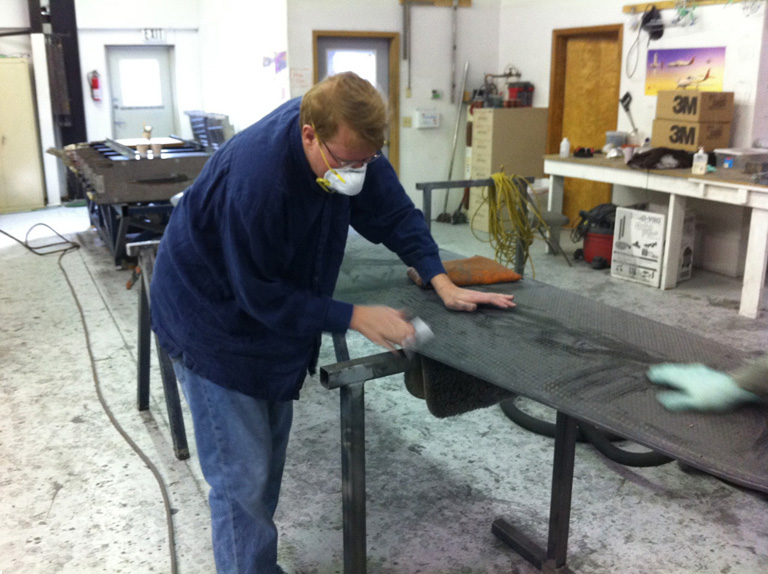
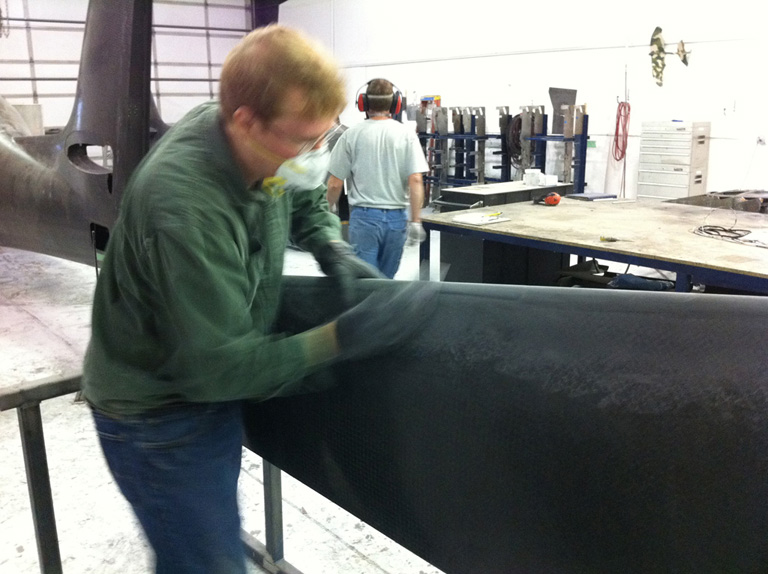
Now we know what the weight of a wet sheet is: The WATER! The sheet itslef weight nothing. It is the water within it that carries the weight! Likewise, the crbon fiber here weighs nothing at all. It is the reson that binds it to the skin that weighs the most! So, we put peel-ply down. Peel-ply is the white fabric that I am putting down on the carbon fiber below. It soaks up all the excess resin. With a delicate touch of gloves and resin, the peel-ply can soak up all the excess resin, leaving it a blue-color. You can clearly see below the there are 2 strips of peel-ply. The one to the right has already been worked into the resin to soak it all up. I am just starting to place the peel-ply at left to soak up the reson there, and the fact that it is still white shows that I have not worked it down into the resin yet to soak up all that extra resin. Once the while thing dries, you simply pull the peel ply off of the airplane... and it takes all the excess resin with it, leaving the carbon-fiber leading edge with just enough resin in it to have a perfect bond!

Now, after letting the leading edge dry and pulling off al the excess resin with the peel-ply, we sand that leading edge nice and smooth!
All done!
The stabilizer is the lightes structure I can imagine (very very easy for me carry by myself), made of about 6 pieces of carboin fiber (lower and upper skin, 2 spars, 2 ribs), held together by hy-sol, with a carbon-fiber tape wrapped around the leading edge where the upper and lower skins come together to be 100% sure that they can never come apart. (Although I already know they never would. The leading edges of the upper and lower skins overlap by an inch or so, and we ran hysol along that overlap, so I know the skins were bonded before I ever added the leading-edge carbon-fiber tape... but that final layer binding the upper and lower surface just srot of gives you that warm-fuzzy feeling that the stan will never become separated... no matter how fast you drag it through the air. (Remember: Evolutions go about 350 mph at 27,000 ft in -100 degree air!
