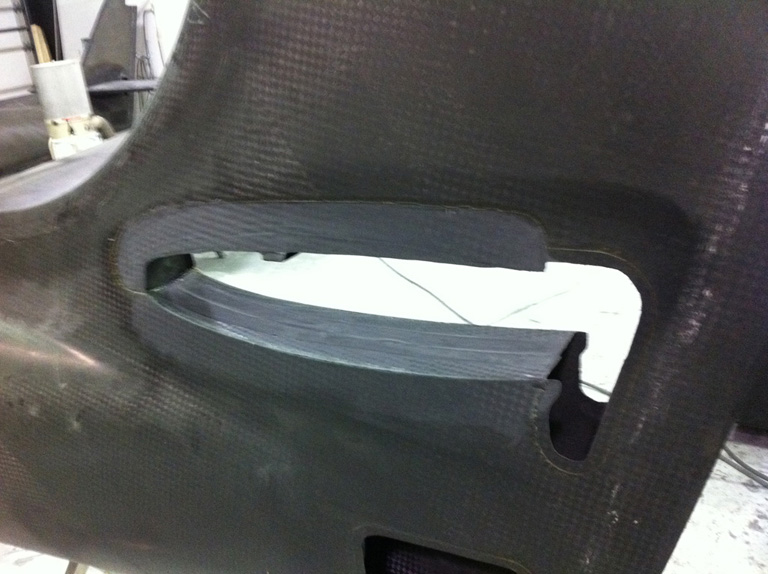
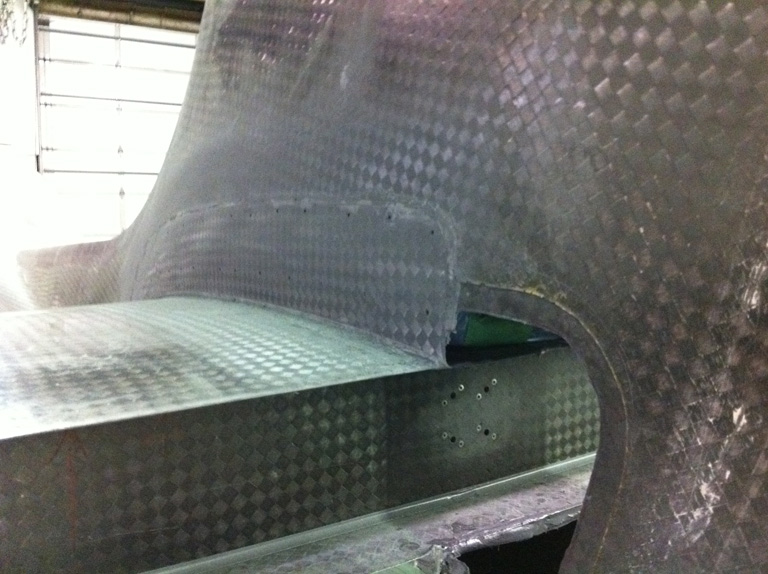
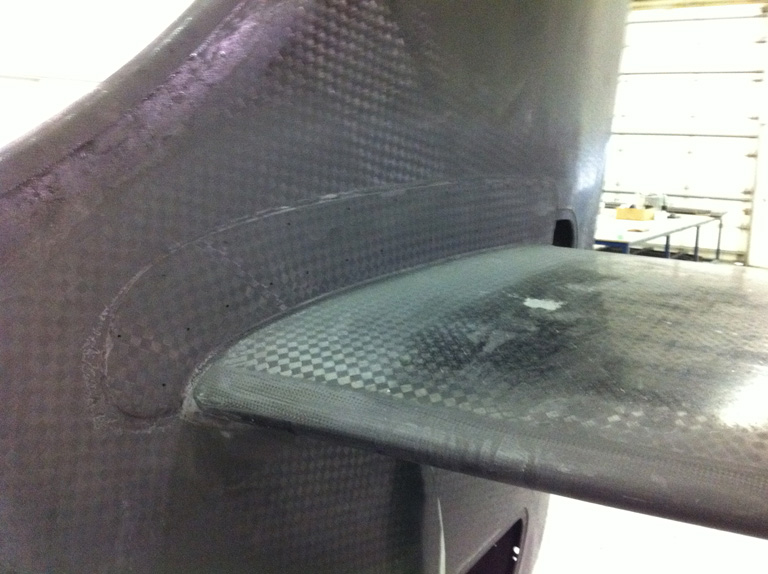
The horiztonal stab saddle when installed with a bit of resin:
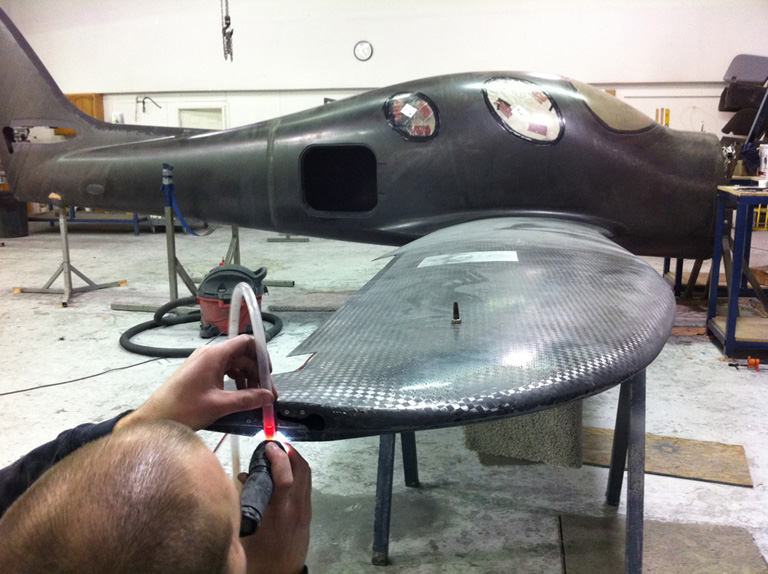
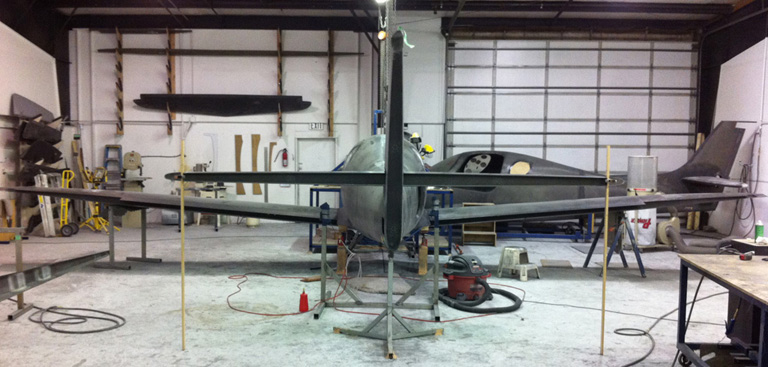
Now we level the plane. To do this, we walk to all the extremities of the plane to carefully-marked reference-points and hold a tube with red-tninted water in it. As long as the gravity vector in the hanagar is going straight down, then the water level will be the same at both ends of the tube. Doing this, we can get the nose and tail exactly level by having someone hold the tube at each end and raising or lowering it as needed to get the water level exactly perfect, and then raising or lowering the airplane so that the water level perfectly matches the airplane at the OTHER end.
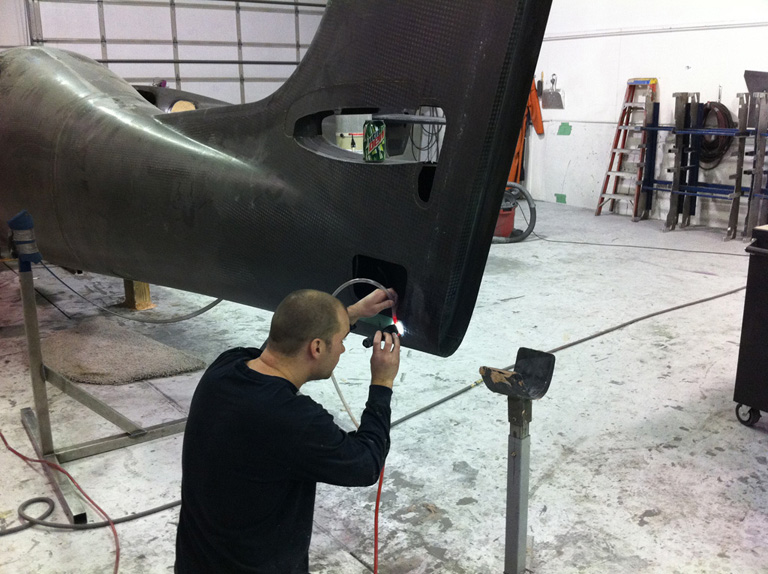
Ditto the wings. We want the plane perfectly level in pitch and roll for mounting the stabilizer!
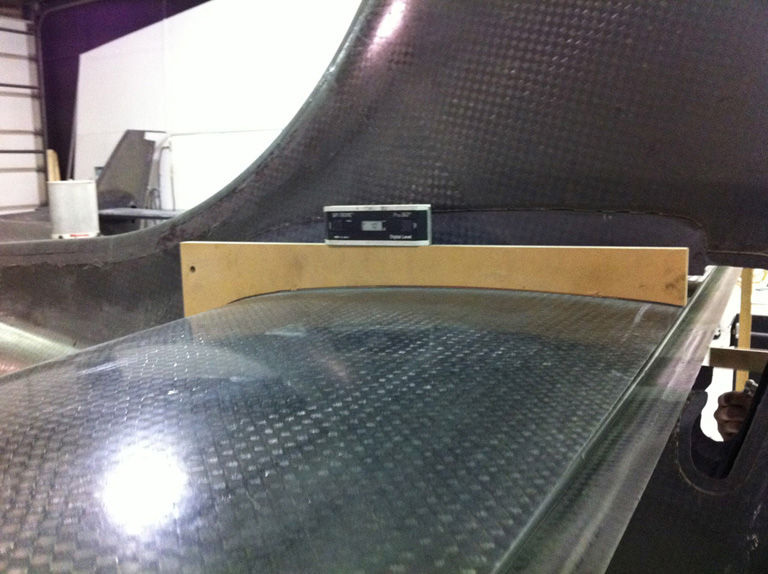
Now we test-fit the stab (no glue yet), tweaking some temporary wood block to hold it at the perfect incidence, as found with a level. Now you see why the airplane needed to be leveled in pitch with that water-level! Only if the plane is perfectly level can the pitch of the stab be just right when set with a level!
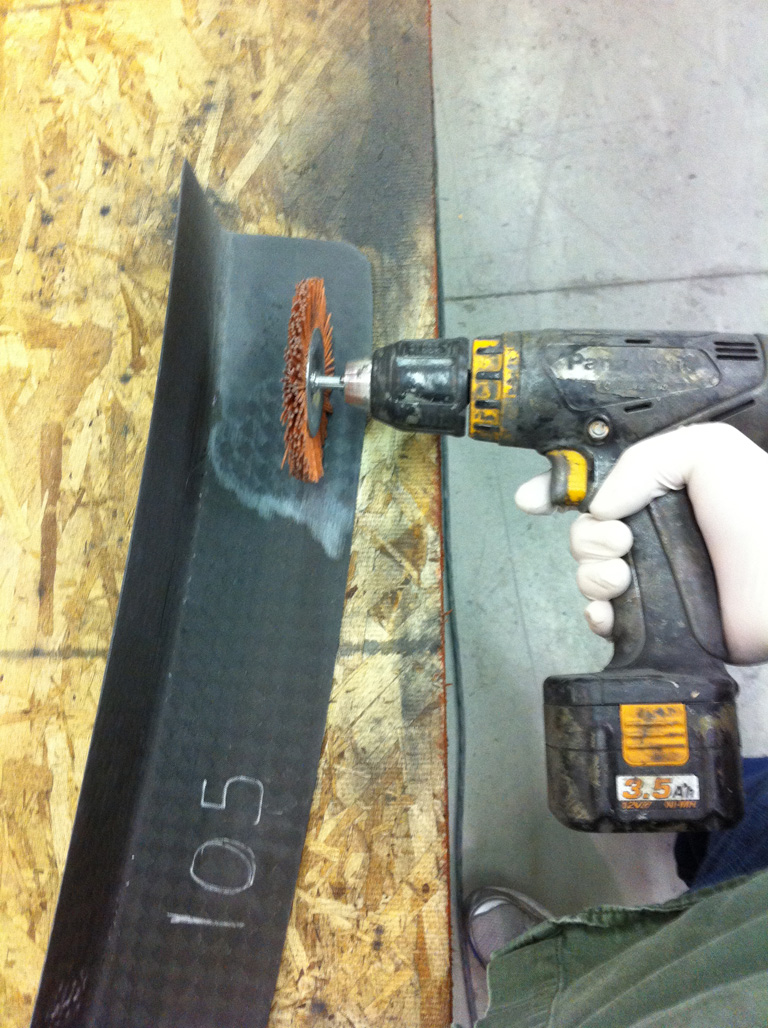
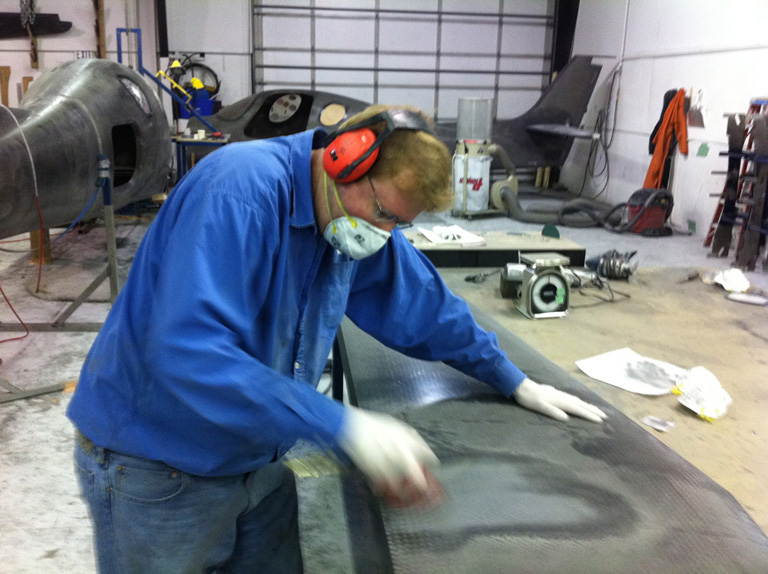
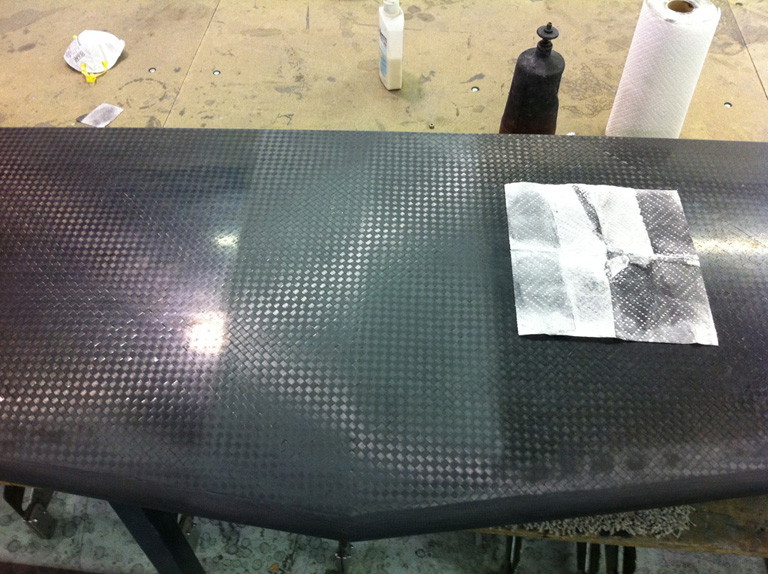
OK now I sand off the resin from the center of the stab to get ready for a nice good hy-sol bond.
An then clean the sanded area with acetone to get he carbon-fiber dust out of there.
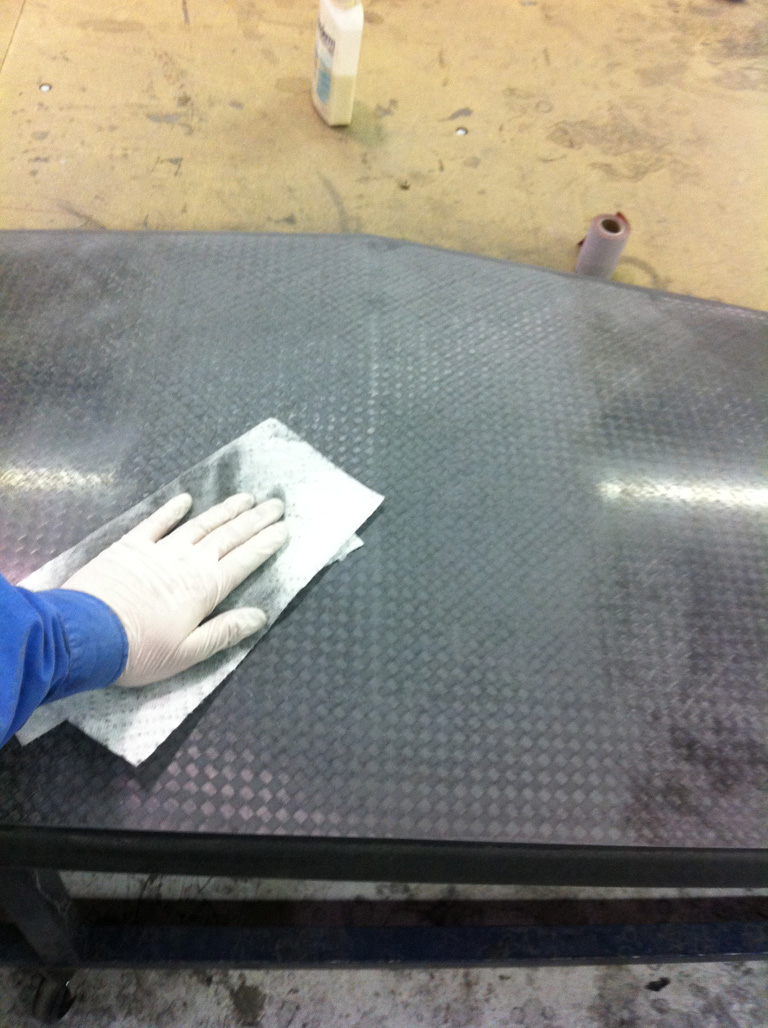
But is it art? The dull center of the stab where I sanded it to bond to the hy-sol, and the dirty acetone-soaked towel I cleaned off the dust.
And now, as you can guess, we give the stab a nice bath of hy-sol where it will mount in the saddle!
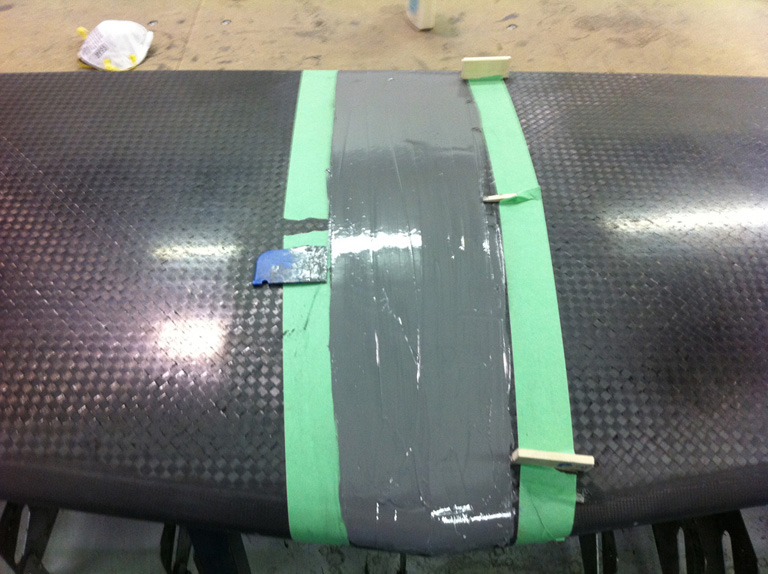
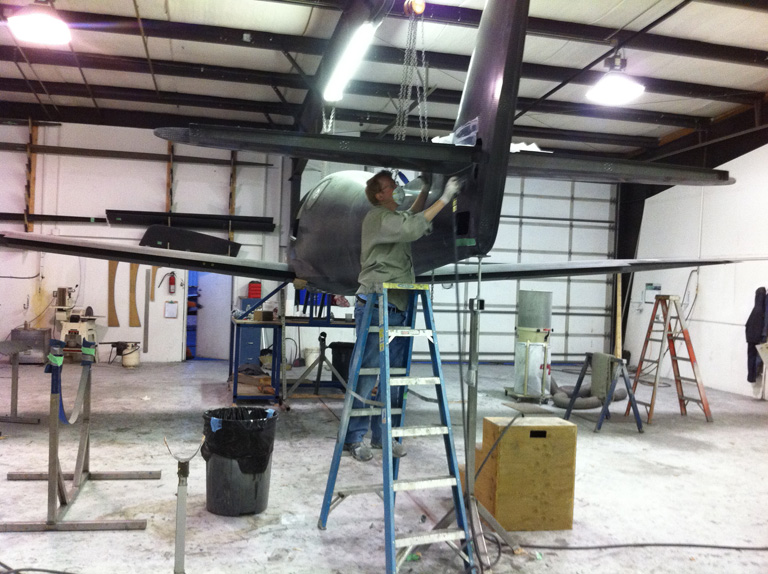
In goes the stab! And we tweak it a little in roll while the hy-sol is still wet. Now you see why we needed to level the airplane in roll before we did this job? That is the only way we could be sure that if the horizontal stab is perfectly level, it is properly installed in the airplane.
And, the prelim mount! Not bad! But, as you will see we are not done yet!
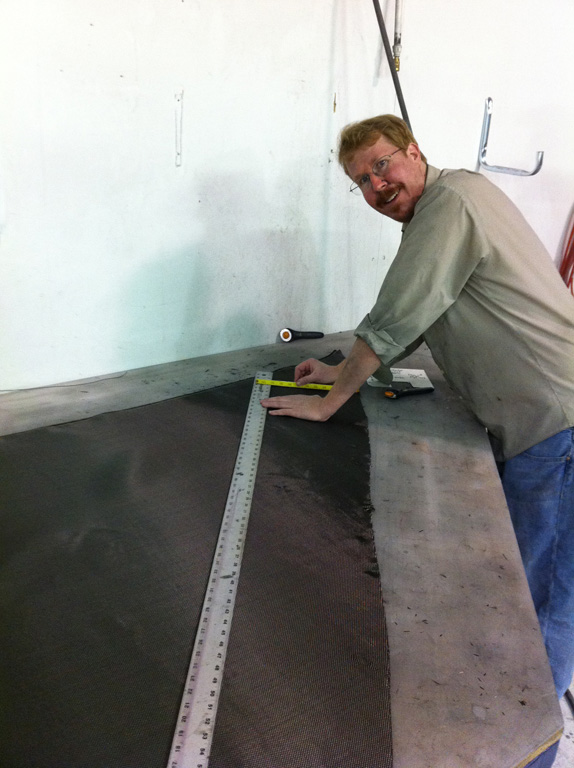
Time for some extra strength. Here, you see carbon fiber for what it actually is: Cloth.
I measure and cut a sheet of it.This will give extra strength to the body near the stab, and hold the stab mroe firmly in place.
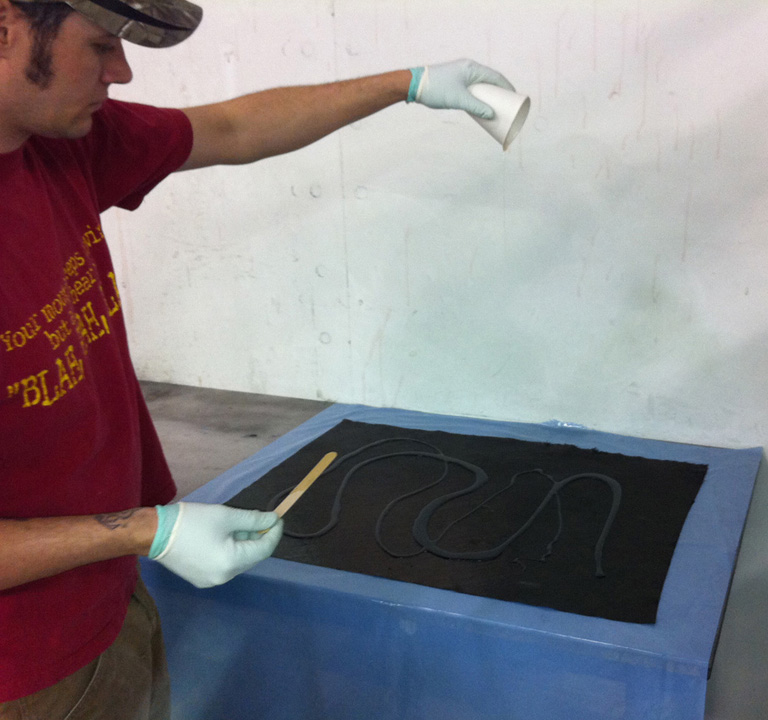
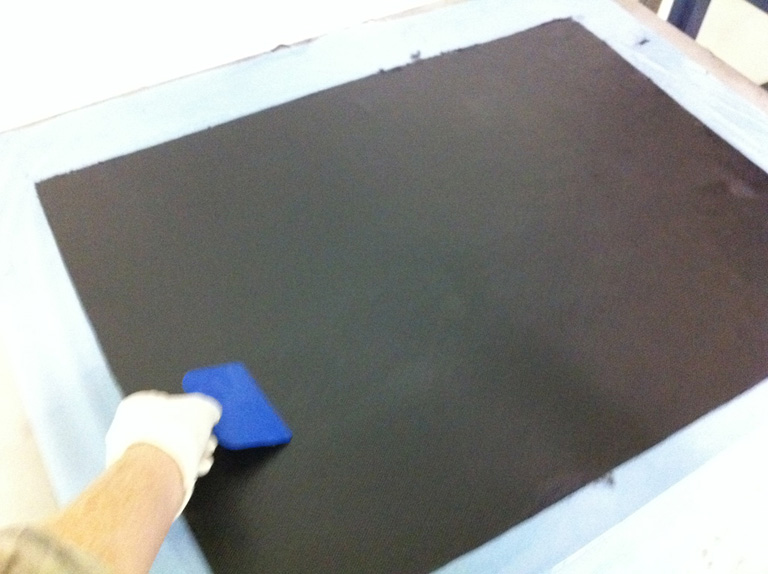
Matt pours just the right amount of resin onto the carbon fiber, which is sitting on slick blue plastic-wrap for easy removal shortly.
I squeejee the resin into the carbon-fiber:
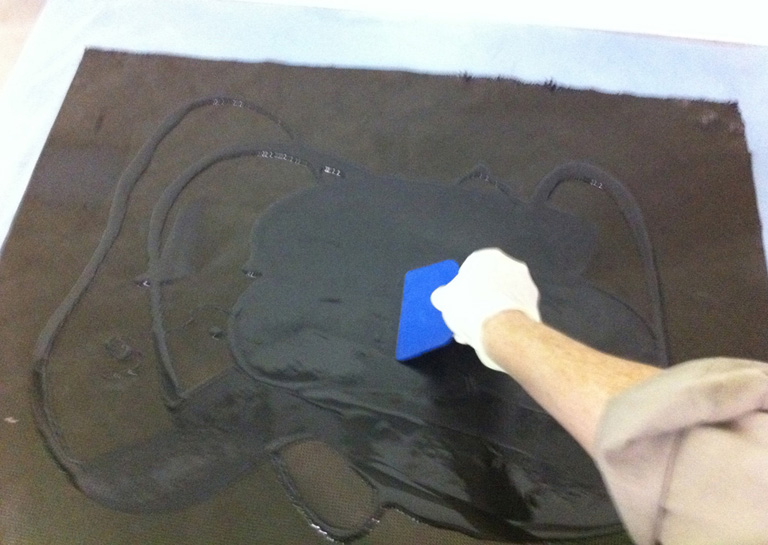
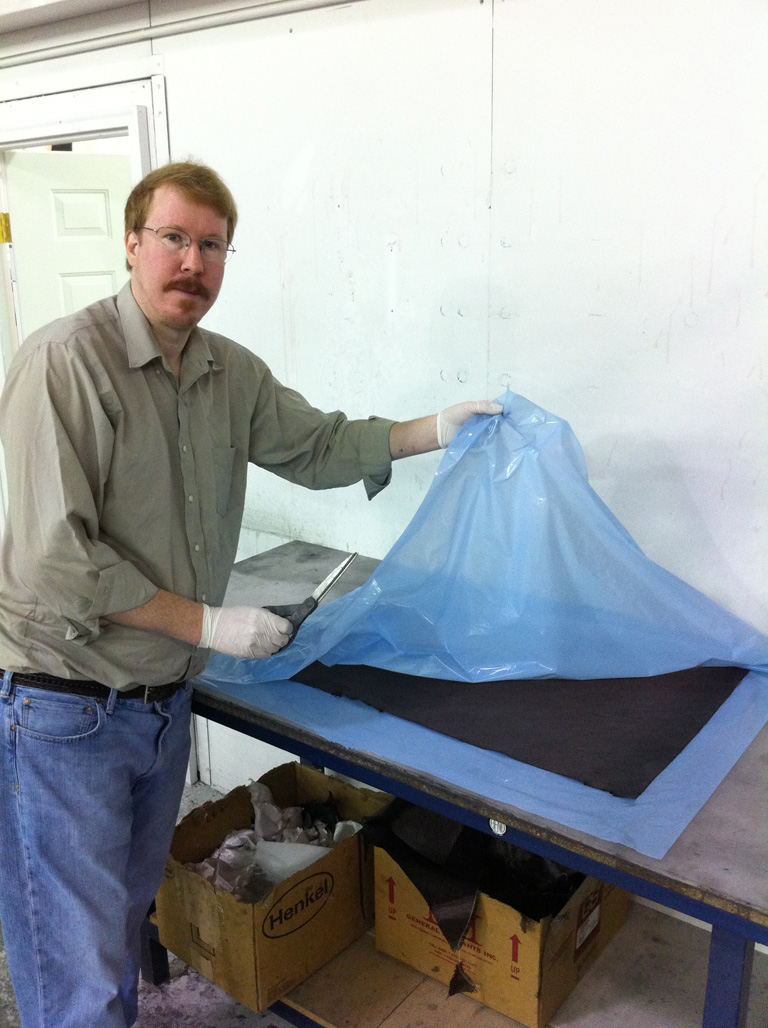
And soon have a perfect sheet of carbon-fiber with resin in it, like a nice wet sheet right out of the washing machine:
I then put another piece of plastic on top:
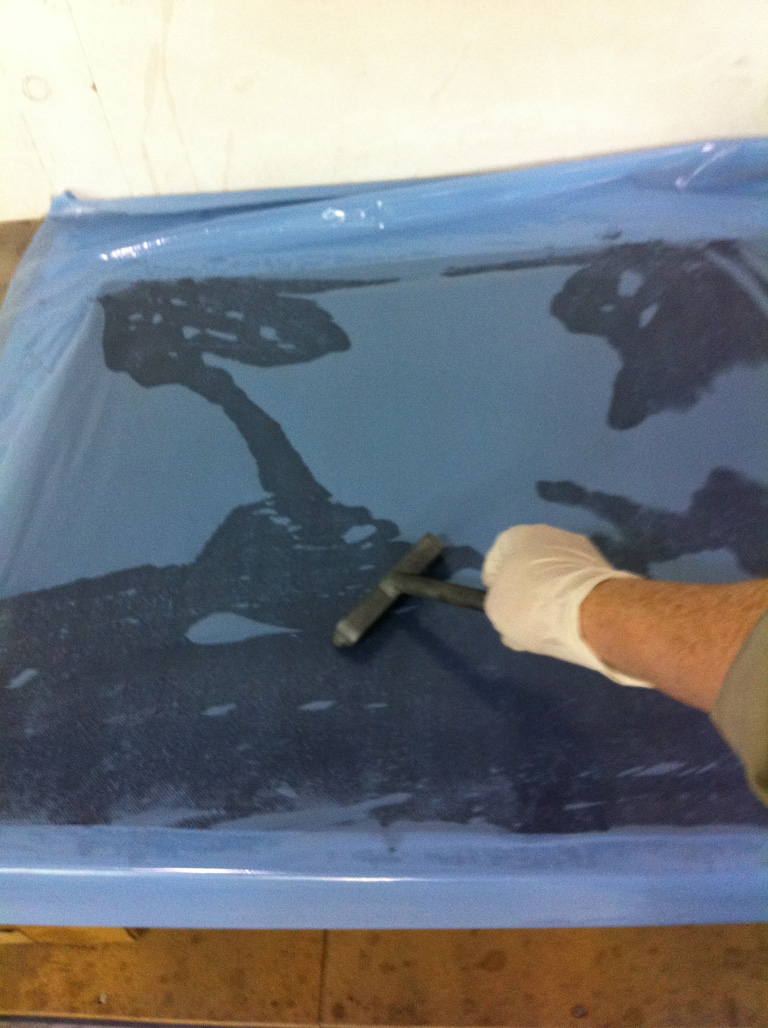
And roll out all the air bubbles:
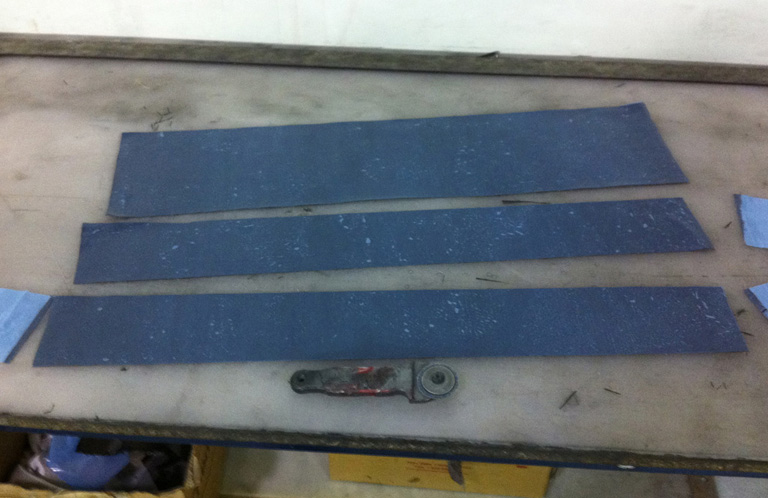
And me and Matt then cut our pancake into just the right-sized pieces along a straight-edge!
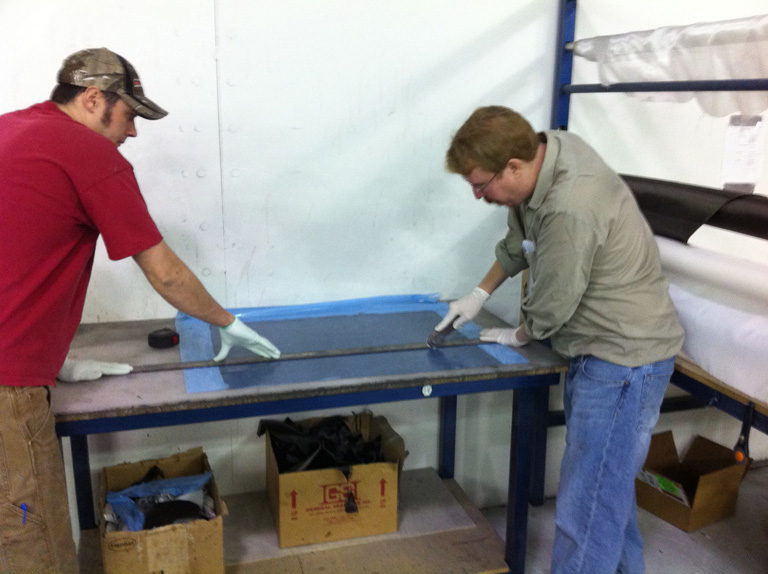
And, still wet like a wet sheet, we have our re-enforcement sheets ready!
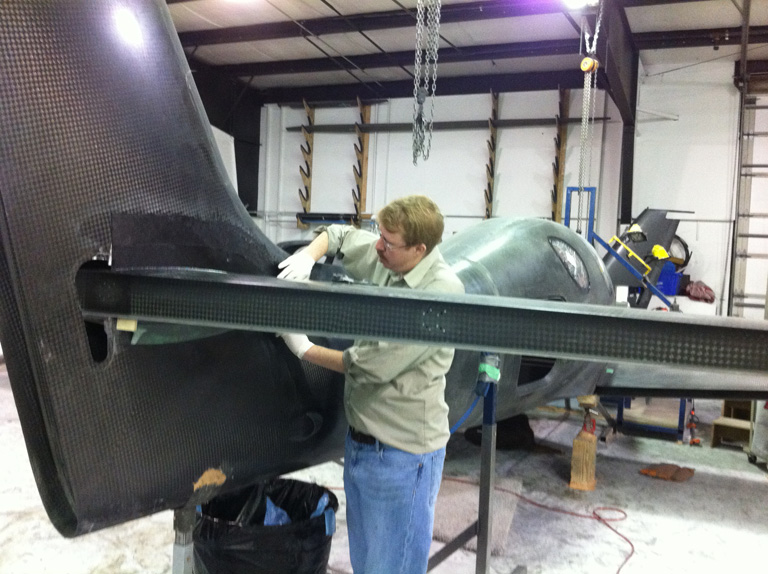
And we put them on the tail, folding over onto the stab to help keep it level.
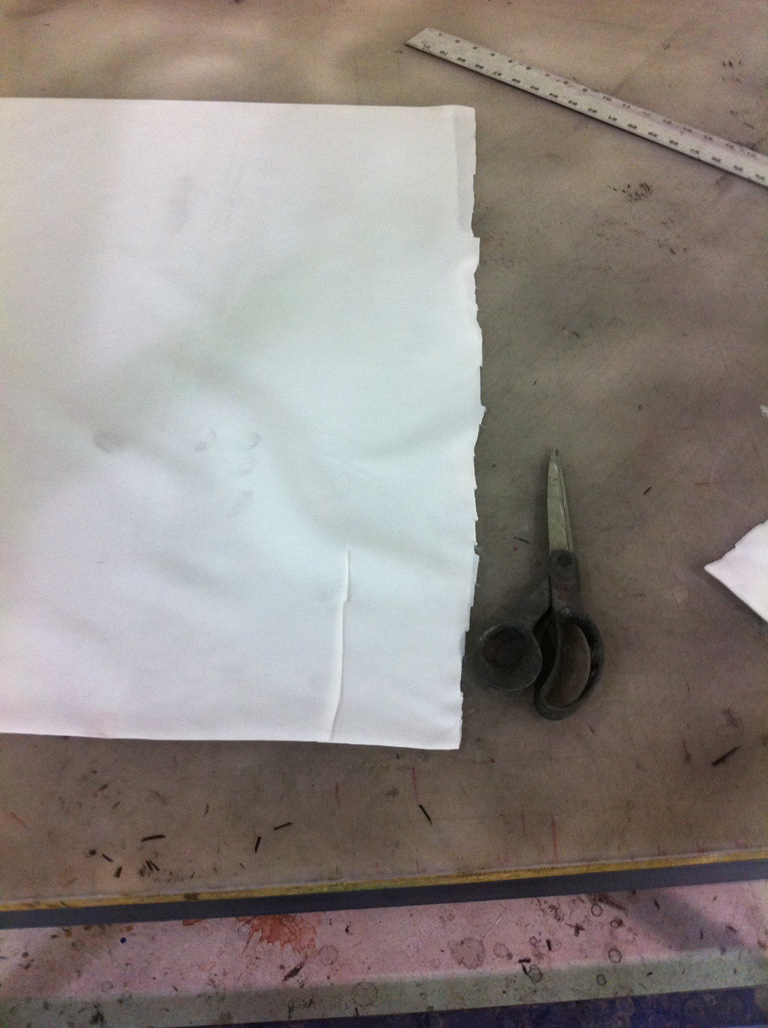
Time for me to cut some peel-ply!
I then put the peel-ply on the tail to soak up the extra resin, since when I peel it off when all is dry it will take the extra resin with it:

And I do the same thing underneath!