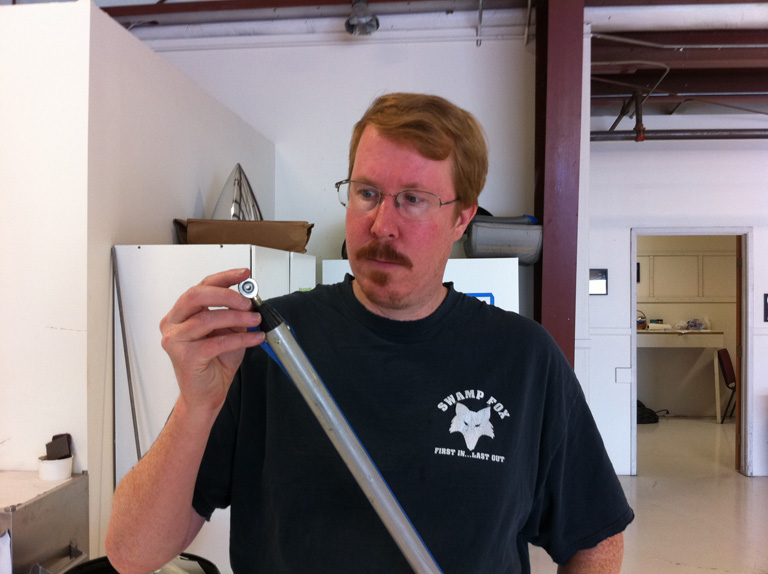
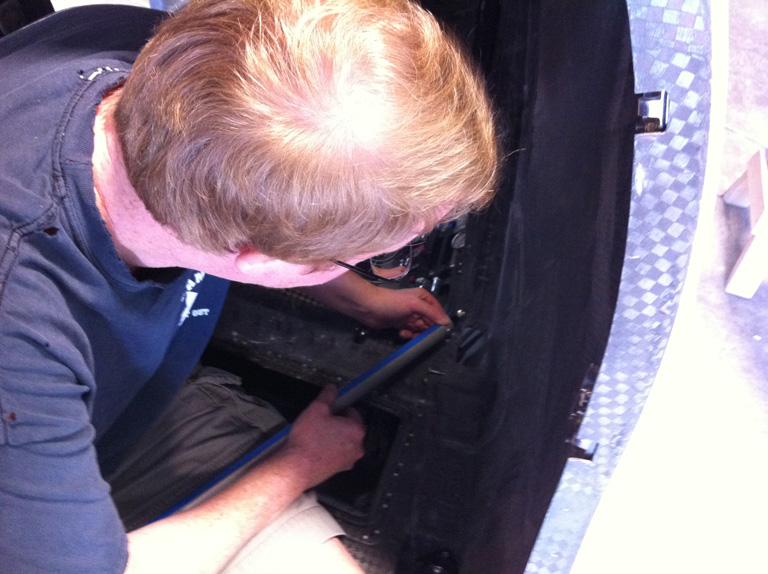
Below, I attach the fitting to the end of the flight control pushrod.
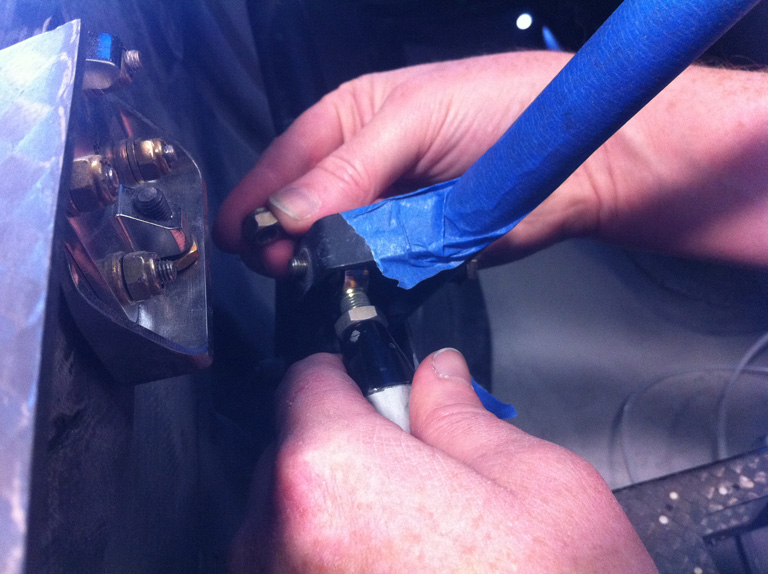
Then move it into place in the stick, which is covered in blue tape here.
Add a bolt and nut...
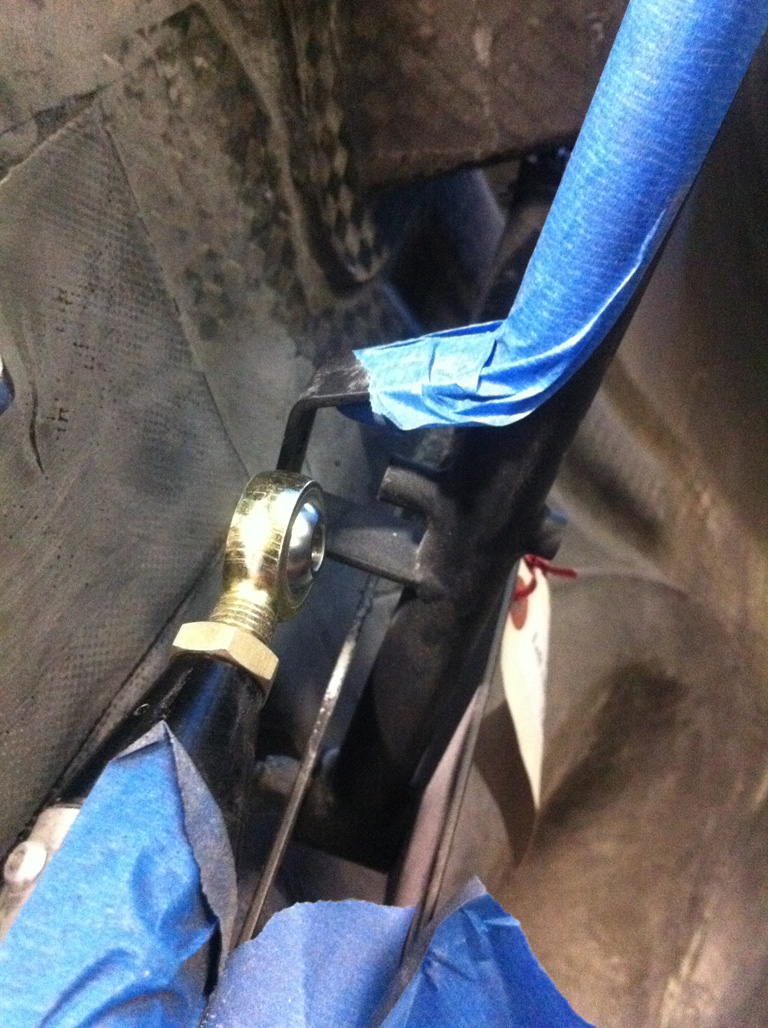
Do the same thing at the back, where it attaches to the lever that goes to the elevator:
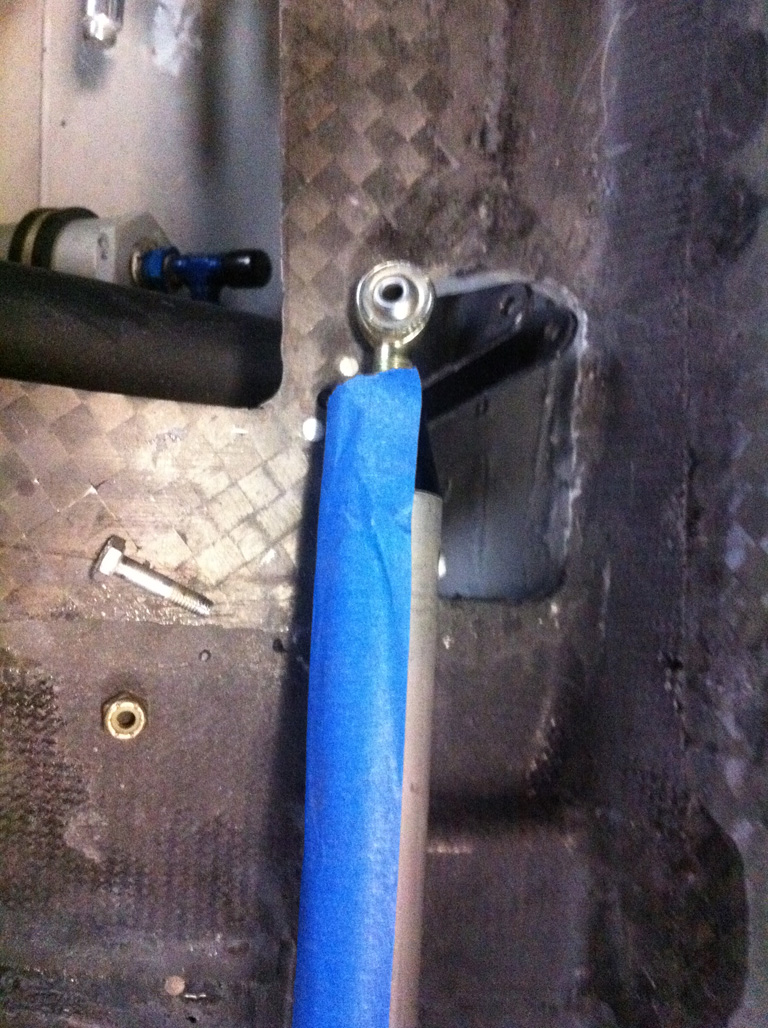
Bolt and nut in place...
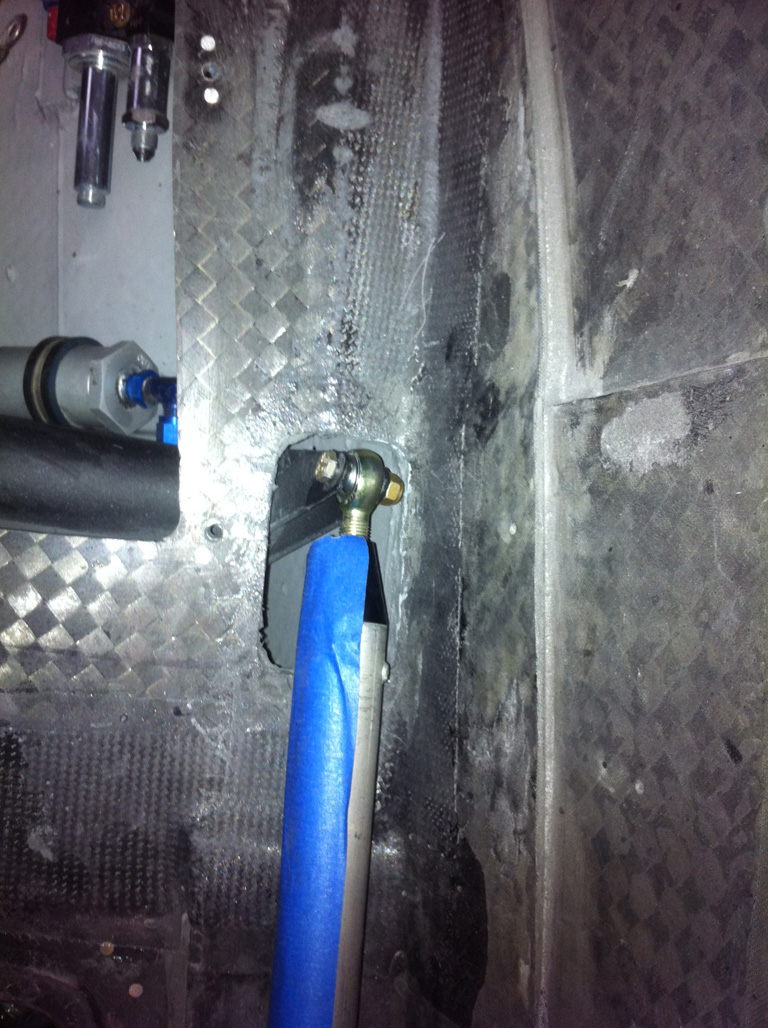
And, as well, attach the brakcets that hold the flight controls. RDD had already done this, but I RE-DID some of it just so I could take part in every system in the airplane.
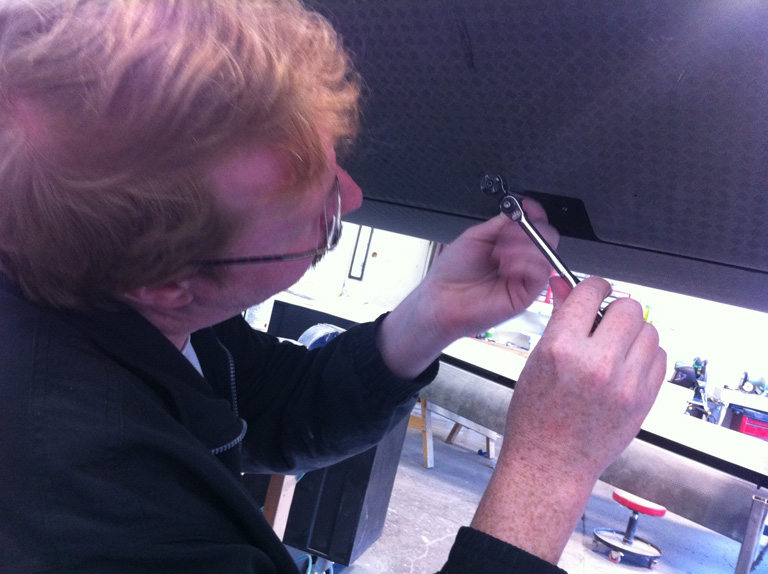
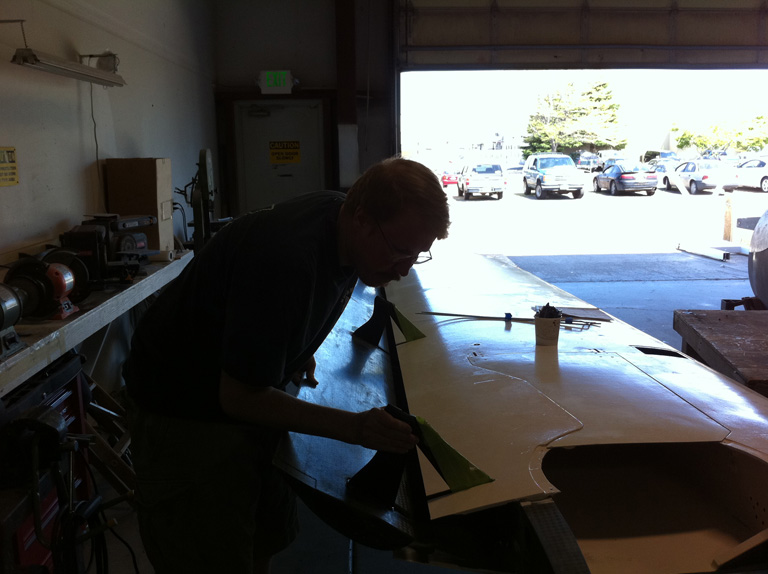
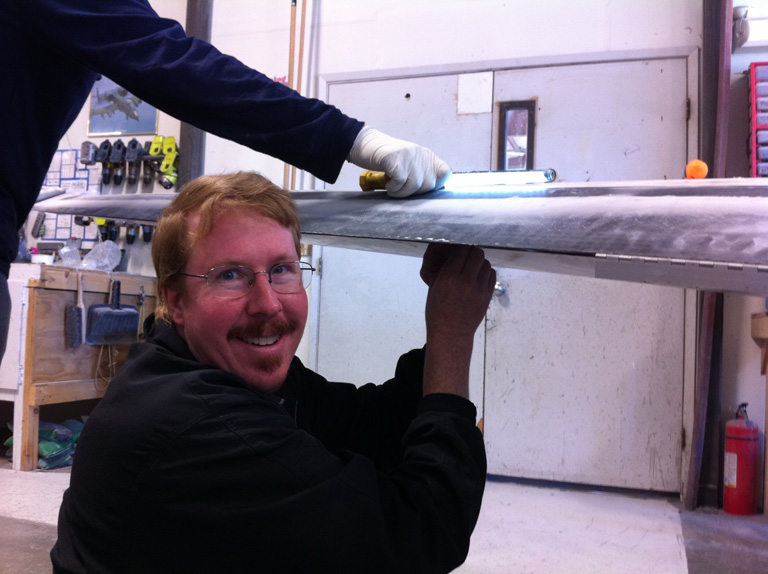
It is dark in that tiny space in the trailing edge of this thin wing, so you have a flashlight shining in there while you tighten the bolts, wich is pretty tricky.
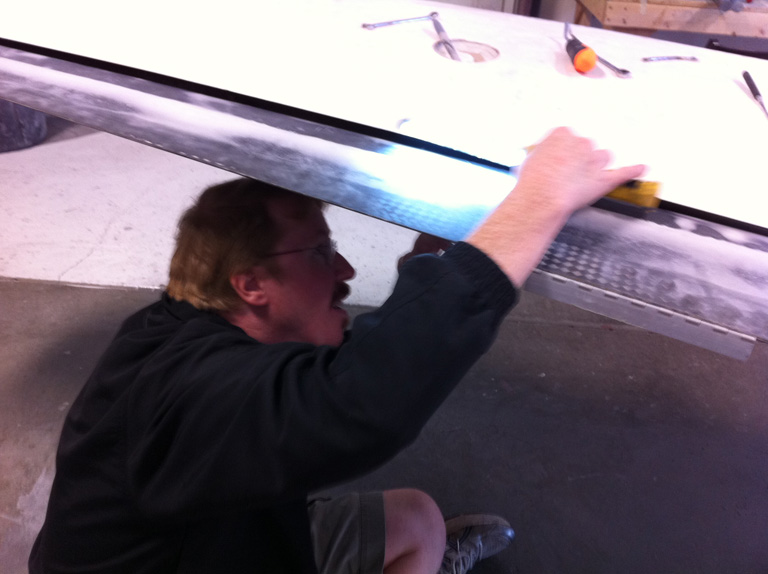
Getting help holding the light while you work in these spaces is sometimes needed...
And now we attach the FLAPS. We simply run the bolt through the attach bracket.

And you see how the flaps fit here... the wing is upsode down of course, as you can tell from the landing gear door and flap deployment direction. You may remember the slots that were cut into the wing here on my previous trip for initial part construction with Composite Assist.